You want your images to load fast and display on the screen. All photos and images on the website should be optimized and no larger than 1024 pixels horizontally or vertically. One of the available tools we use to batch process image resizing for the web is PicSizer.
Install PicSizer (if needed)
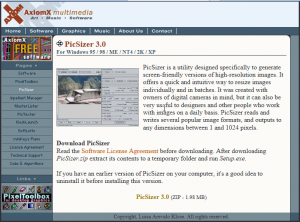
If you have not already installed the software, please go here and follow the installation instructions. Please contact the help desk if you need assistance.

Get Photos Organized in a Folder
Place all of the photos from your event in a single folder on your desktop or in your photos folder. You will need to know where this folder is so you can navigate to it later.
Launch PicSizer
Double click on the icon on your desktop or launch PicSizer from the start menu.

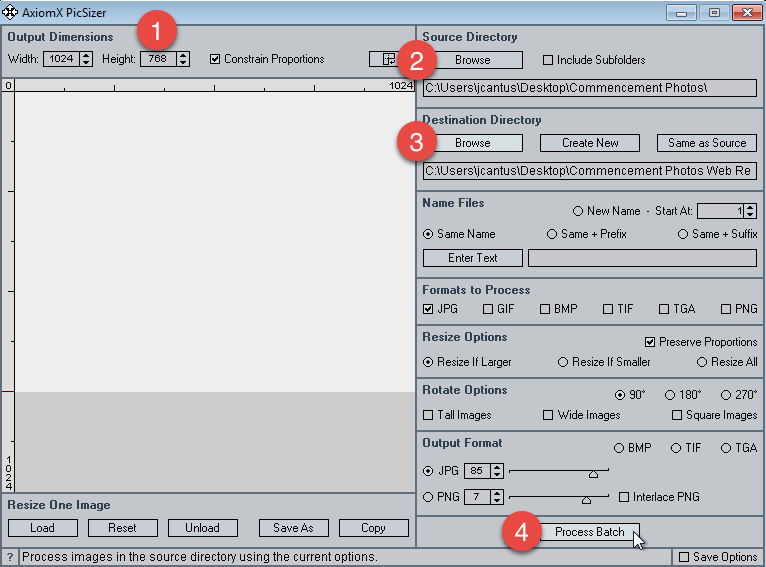
Once launched, you will see the application window with several options for you.
- Set the Output Dimensions: Either Width or Height at 1024
- Click the Browse button and navigate to the Source Directory (folder) where you put the photos
- Select a Destination Directory or click Select New to make a new folder. We suggest a name that has Web Ready or Resized
- Double check your and select Process Batch
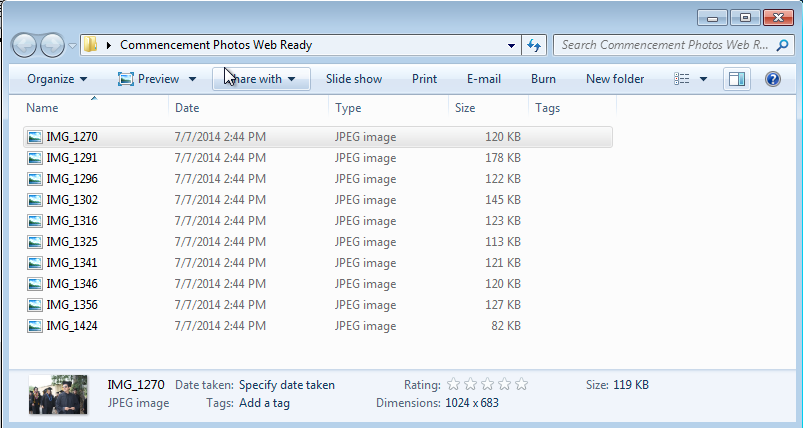
PicSizer will process all of the photos in your Source Directory and save the new version to your Output Directory. Please double your files that they look OK. They will be very small and resized.

Please Note
PicSizer only works with landscape or portrait resizing at one time. Please separate your photos accordingly and process landscape and portrait photos separately. If you have made it this far and still would like some help, you can contact your tech trainer.


